AgilityFinder ClubManager: 🚀 Quick Setup Guide
This tutorial shows you how to use ClubManager (your management panel). Your members will use the AgilityFinder mobile app to book classes you create with the manager.
What's Included in ClubManager?
For You (Club Management)
- Send us your data and we'll set everything up for you: members, dogs, payments, and schedules in under 2 days
- One-click recurring classes - Set up your schedule once, runs automatically
- Attendance & revenue tracking - See who attended and track your earnings
- Automated waitlists - Fill cancellations automatically
- Streamlined notifications - Send updates to members instantly
- Multiple dogs per handler - Each member can register different dogs
- Conflict detection - Avoid scheduling overlaps
- Mobile access - Manage everything from the training field
- Expert support - From actual agility trainers
For Your Members (Free Mobile App)
- Book classes anytime - Members use their free app to register
- Manage their dogs - Different profiles for each dog and skill level
- Automatic notifications - Updates about classes, cancellations, and waitlists
- Join waitlists - Get notified when spots open up
Club Growth
- Public listing - Get discovered in the AgilityFinder network
- Membership requests - New members can find and join your club
✨ Set up your club step by step in 7 steps
Step 1: Create your account
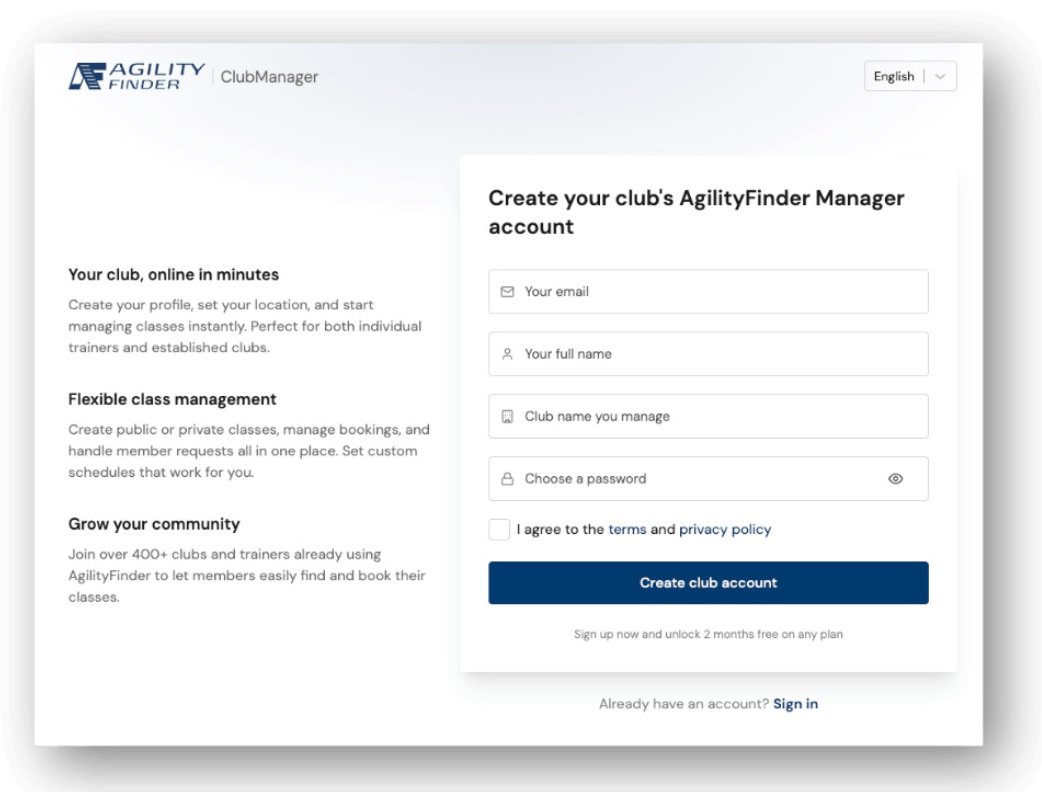
- Go to: https://clubs.agilityfinder.com/auth/register
- Fill out the form with your details
- Check your email and confirm your account
- You're all set!
Step 2: Complete your club profile
This information is what your members and potential new members will see in their mobile app.
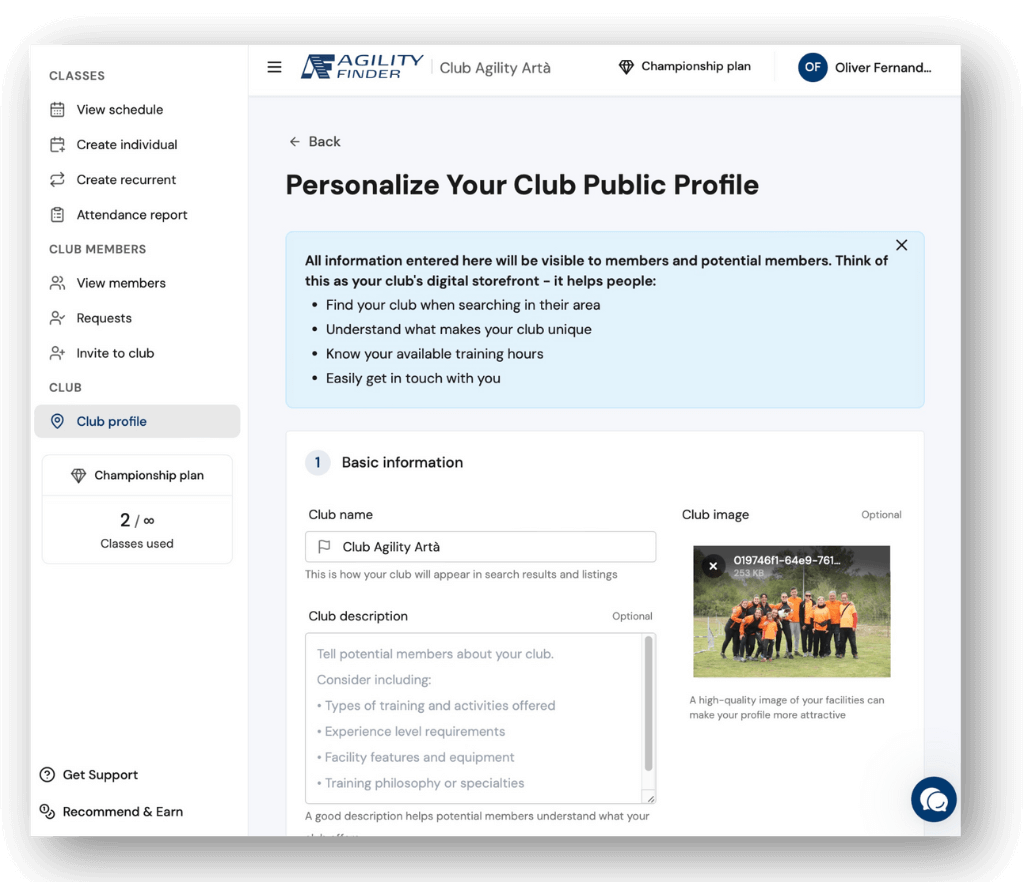
- Go to https://clubs.agilityfinder.com/profile/club
- Fill out these fields:
- Club name: How it will appear in searches
- Description: What makes your club special
- Photo: An image of your facilities
- Address: Mark your exact location on the map
- Hours: When your club is open each day
- Contact: Email, phone, and WhatsApp
- Social media: Website, Instagram, Facebook (optional)
Tip: The more information you provide, the easier it will be for people to find you.
Step 3: Invite your members
You have two ways to add members to your club:
Option A - Send invitations:

- Go to the “Invite members” section
- Enter emails separated by commas
- Send the invitations
Option B - Receive requests:
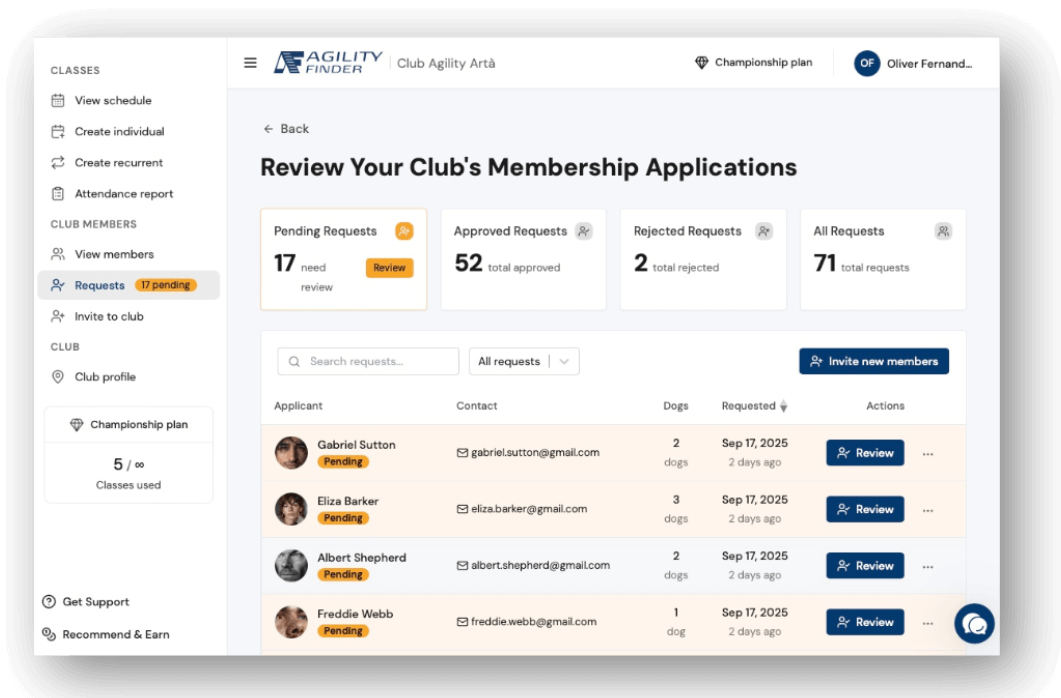
- Users can request to join from the mobile app
- You decide whether to accept or reject each request here
- You'll see all their information: phone, dogs, etc.
Important: You need at least 5 members for your club to appear in the app.
Step 4: Manage your members
You can control everything about your members in the members section:
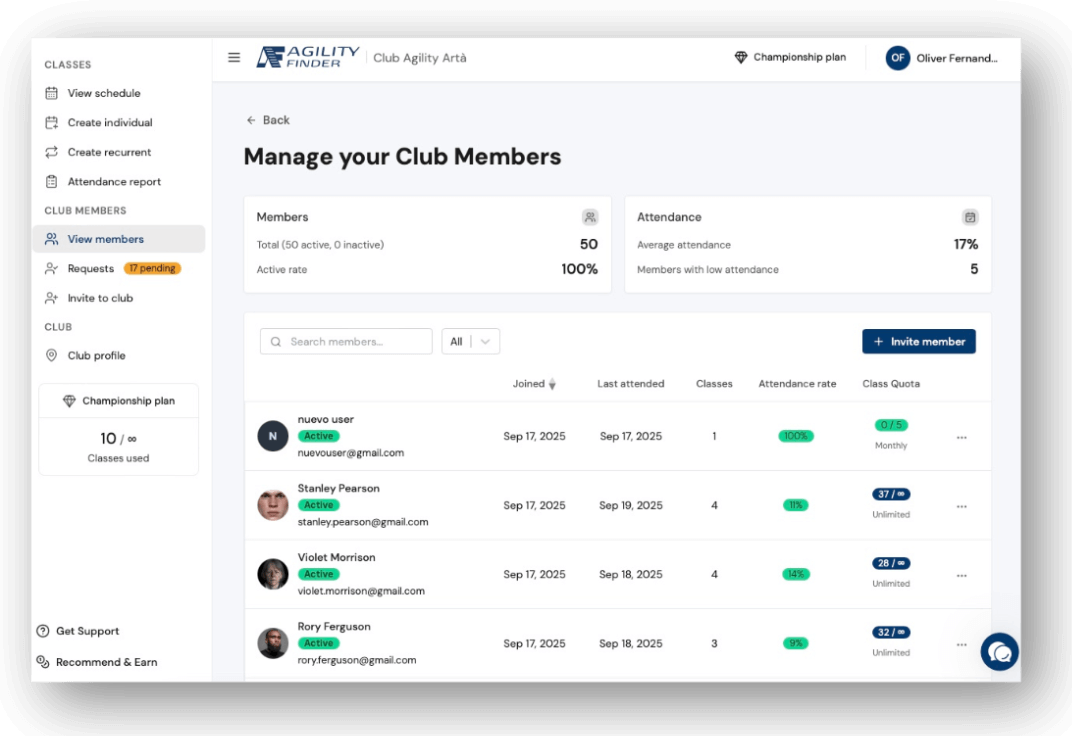
What you can do:
- View information for each member and their dogs
- Set class limits (monthly quotas)
- Activate or deactivate memberships
- Review attendance history
- Manage multiple dogs per person
Quota types:
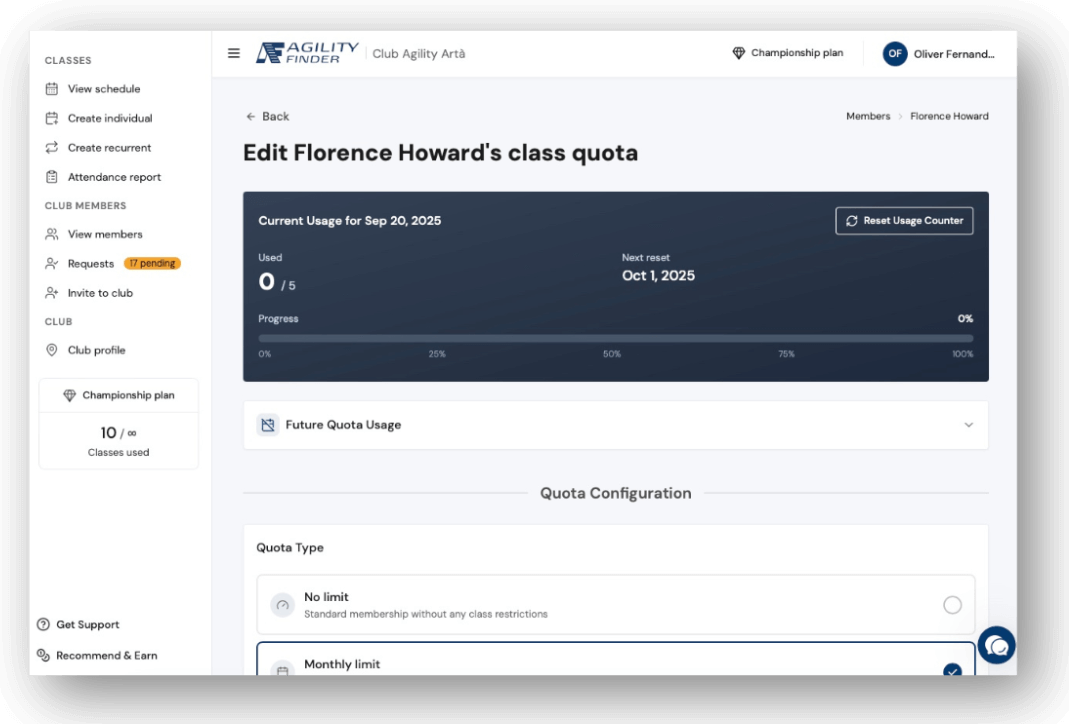
- Unlimited: Unlimited access
- Monthly: X classes per month
- Total: X classes total
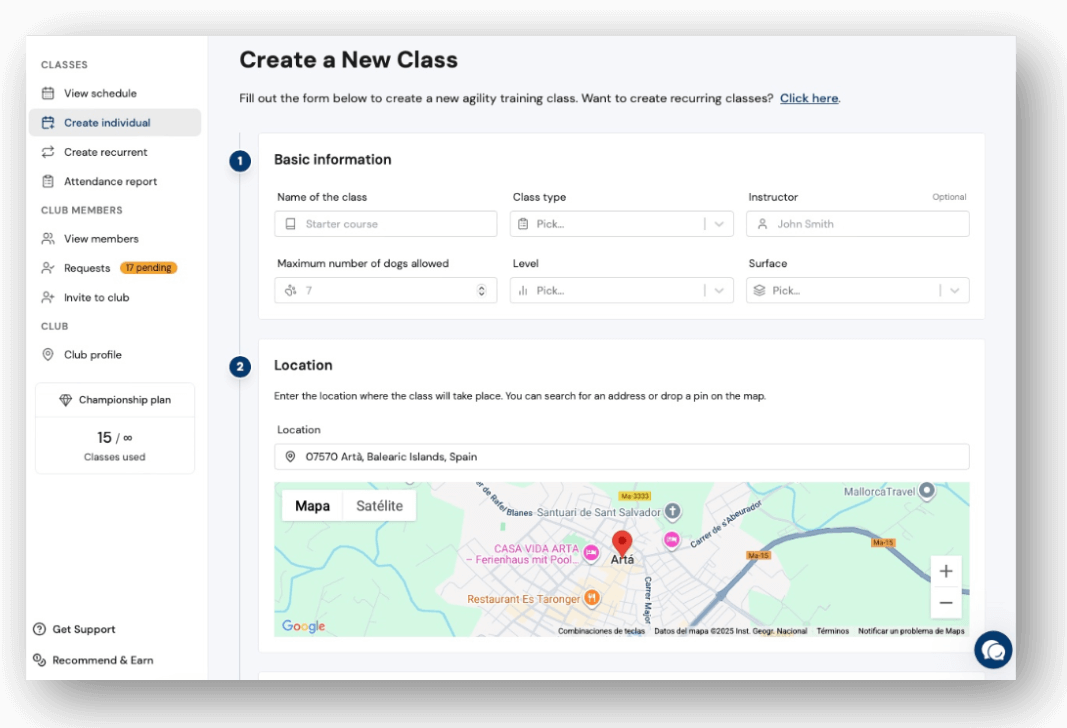
Step 5: Create your classes
You can create classes in two ways:
Individual class (one-time):
-
Go to "Create individual"
Fill out: name, level, duration, price, date and time
Class type:
- Private: Only for club members
- Open: For everyone (ideal for seminars and attracting new clients)
- Location: You can change the address (useful for coaches who teach at different clubs)
- Set maximum number of dogs allowed
- Pre-registration: Select members to automatically enroll
- Create the class
Recurring classes (repeating):
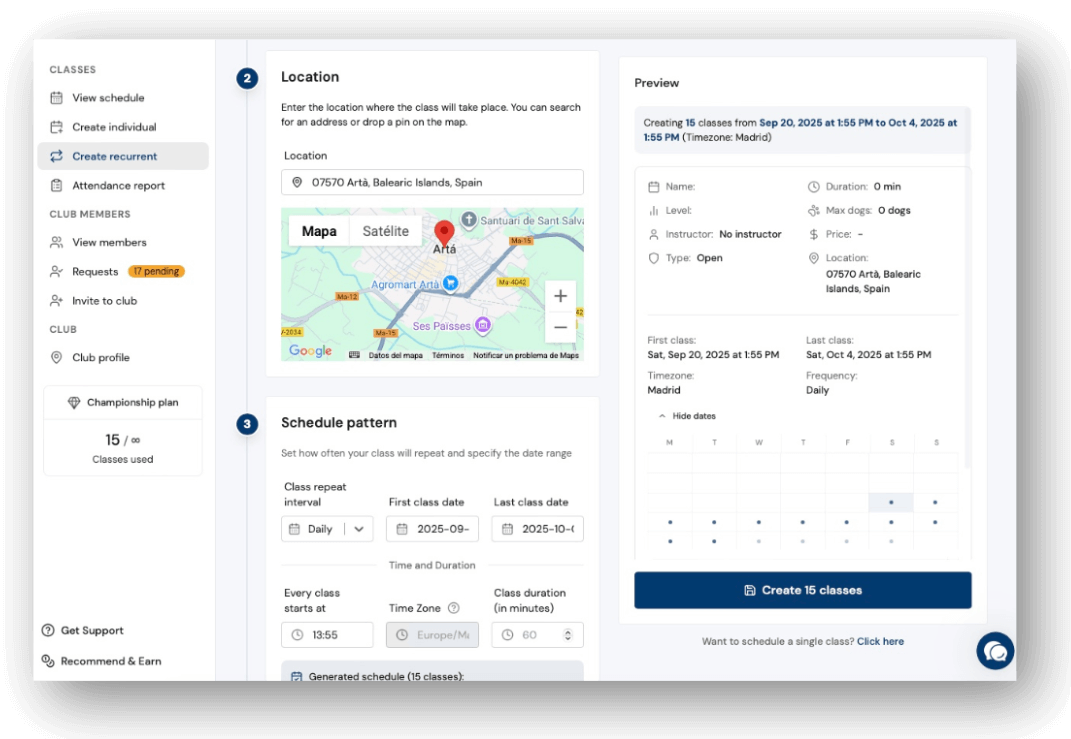
- Go to "Create recurring"
- Configure the base class the same as above
- Choose the pattern: weekly, monthly, etc.
- Set start and end dates
- Automatic pre-registration: Select regular members who attend each week
- The system will create all classes automatically
Recommendation: Use recurring classes with pre-registration for your regular training sessions. It saves you hours of management!
Step 6: Review your class calendar

In "View calendar" you have visual control of everything:
Color codes:
- Green: Available spots
- Yellow: Almost full
- Red: Full
- Gray: Finished or cancelled
What you can do:
- View all classes for the month
- Click on any class to edit it
- Create new classes by clicking on empty spaces
- Switch between calendar and list view
Step 7: Control attendance and billing
In "Attendance report" you have complete financial control:
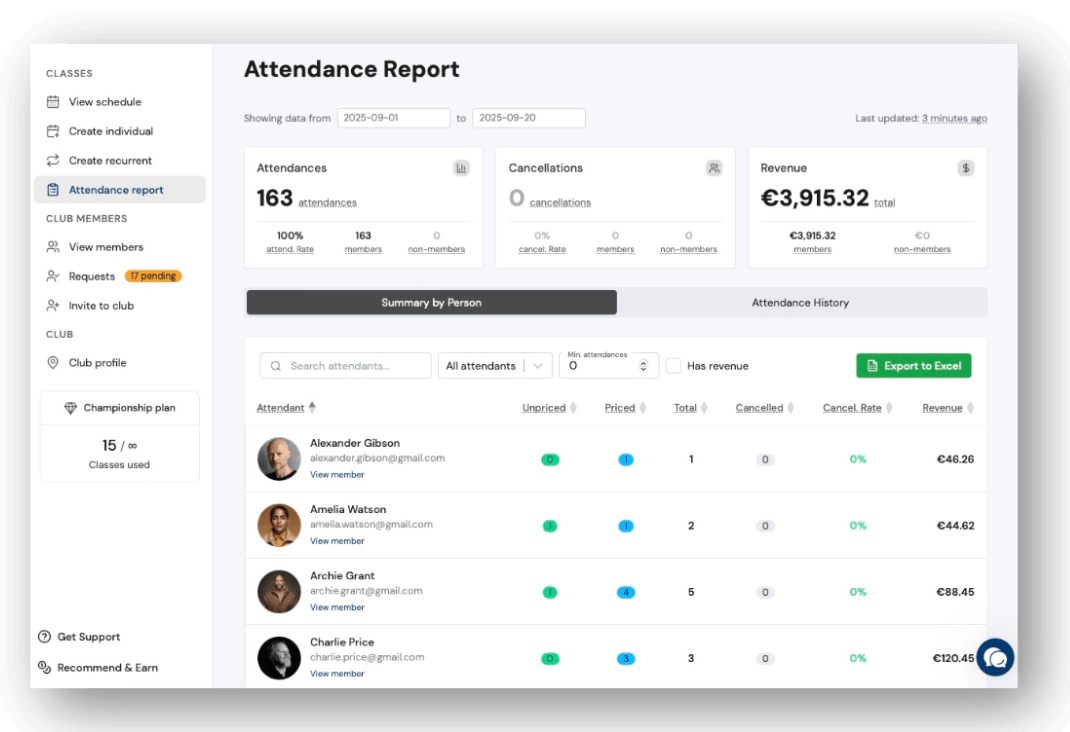
What you use it for:
- Bill your clients correctly
- See which members use their quotas more or less
- Identify which classes are most profitable
- Export data for accounting
How to use it:
- Select the period you want to review
- Review total income and attendance
- Check the summary per person
- Export to Excel if needed
This step helps you make business decisions based on real data.
Your club is now running!
With these 7 steps .
Your members will be able to book classes from the app and you'll have everything under control without paperwork.